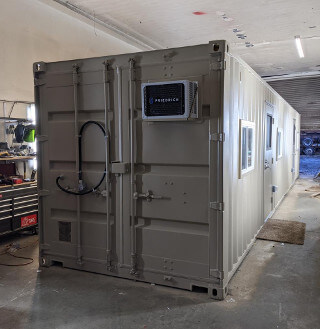
40ft Shipping container office conversion
Converting a full size 40ft shipping container to an office space is time consuming, but the results will be worth it. As this office will be portable and can be set up just about anywhere, all what's needed is a power line to power the office.
-
✓
Complete insulation.
-
✓
Two steel entry doors with windows.
-
✓
Five full size glass windows.
-
✓
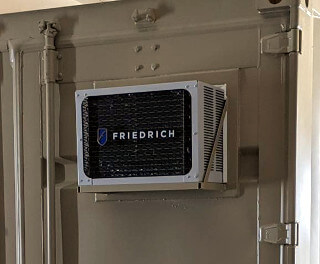
Two air conditioners.
-
✓
Four baseboard heaters.
-
✓
100Amp Electrical main panel.
-
✓
LED internal lights.
-
✓
Inside and outside electrical outlets.
Converting Shipping Container To An Office
Describing how to convert a shipping container to an office in details will be really lengthy and probably boring.
So we will go over the main and major steps in this conversion and the rest will be simple and easy with a little common sense.
The same thing will go for the tools and supplies needed for this conversion.
-
✓
Grinder & cutting wheels.
-
✓
Welding machine.
-
✓
Sealant & Liquid nails.
-
✓
Wrenches, Sockets & Hand tools.
-
✓
Drill, Saw & Impact driver.
-
✓
Electrical hand tools.
-
✓
Weld and go man door kits.
-
✓
Weld and go window kits.
-
✓
Wall mount air conditioning.
-
✓
2X4 Wood studs.
-
✓
OSB boards.
-
✓
Facing plywood board.
-
✓
Electrical wiring and supplies.
Shipping container office steel work
We start with the steel work to get it out of our way as we have a lot of work ahead of us.
The entry doors and windows are Weld and Go kits which make them easy to install.
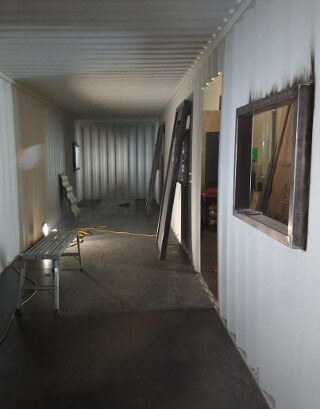
In this job we are building two 40ft shipping container offices each will have five windows and two man doors which means a total of ten windows and four doors. Now it's a good idea to take the time to build a window frame stand.
The window frame stand will help in holding the frame against the wall while tracing the outline on the walls and at the same time all the windows will be at the same height.
Even Though there are a lot of steel cutting for the windows, Doors and the Air conditioners. We did not use the plasma cutter to keep the openings as clean as possible.
Installing the window frames is as easy as trace,cut, clean, weld and seal. The only thing to pay attention to is welding the frames to the shipping container all the way around, not to skip weld.
We orderd the Weld and Go man door kits for this job to speed up the process of the build. These metal doors comes already inside a steel frame with the hinges attached.
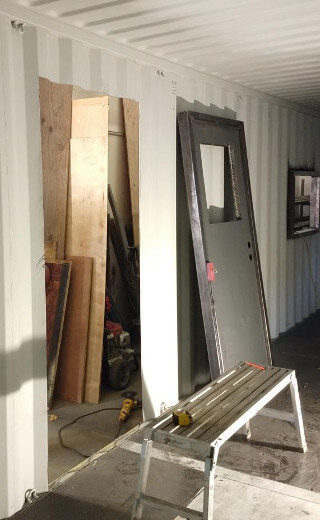
We lined up the door assembly against the wall from the inside of the container and trace the frame to the wall.
Using a cutting wheel on a grinder we cut the door opening and with a grinding wheel we cleaned up the bottom rail flange and the edge of the opening getting it ready for welding.
Now the door assembly can be set inside the opening, lined up with the outside of the shipping container walls tack welded first then welded all the way around just like the window frames.
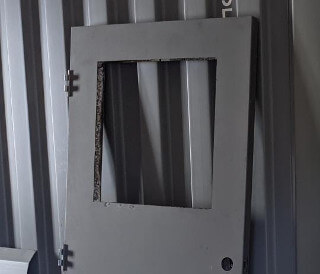
The entry doors that the customer requested comes with an opening for a small window and the window which will be installed later on.
The air conditioners that we received for this shipping container office mod were wall or window mount and they can't be installed just the way they are on a shipping container, So we had to fabricate frames for them and some outside support to hold the weight of them.
The AC frames were built from a 2X3 rectangle steel tubing to match the door frames and the window frames. This will help us later on when we start framing the inside with 2X4 wood studs for the insulation.
The AC supports were built from a 0.5X1 inches rectangle steel tubing and a couple of one inch steel flat bar.
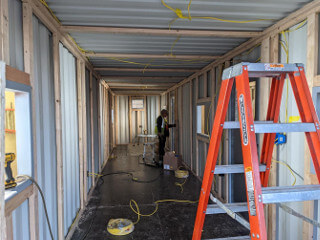
The inside framing was done with 2X4 inches wood studs. We ordered 10 and 8 foot lengths.
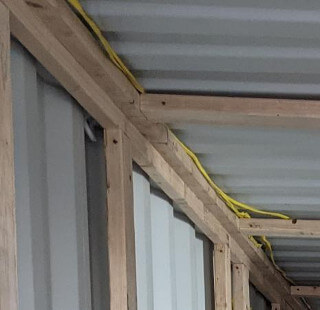
We start by fasten full length 10 foot studs face out to the top rails all around the inside of the shipping container using 5/16 steel self tapping countersunk screws.
Then we attached a 1X1 inches wood studs to the two by fours with a nail gun and that gives us the two flat surfaces to attache the OSB panels later on, Now we can attach the horizontal ceiling 2X4 to the one by one that we just installed.
A one by one inch stud get nailed to the floor decking all around the container. This will be the bottom base for the vertical studs which will be cut down to length and spaced out 48 inches center to center.
You might get tempted to cut all the vertical studs at once to the same length. That will be a big mistake as the height of the container changes as you get to the center of it.
The back of the shipping container "By the cargo swing doors" get framed too. A wall will cover the opening and the cargo doors will be sealed. Not usable anymore.
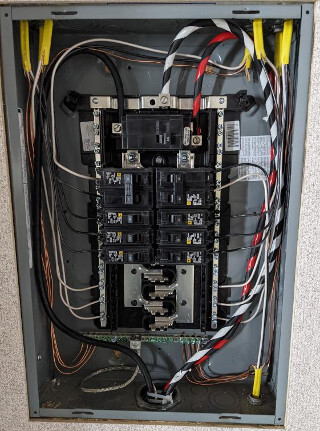
Buy the time the framing is done it will be a good idea to start installing the electrical outlet boxes and wiring.
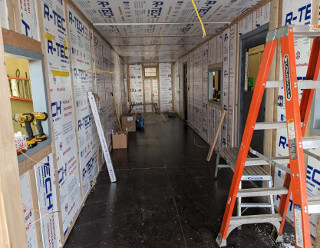
We used insulating sheathing to fill all the voids. Starting with the ceiling then the sides. The insulating Sheathing can be cut with a box cutter, a hand saw or a foam cutter.
If the frame spacing comes out perfect a foam cutter will save a lot of time as you can cut 10 sheets of foam to size at the same time. Unfortunately our foam cutter quit on us so we had to use a hand saw while the new cutter is in it's way.
There was no need to glue any of the insulation sheathing as all the cuts were done with a hand saw and they all turn out nice with a tight fit.
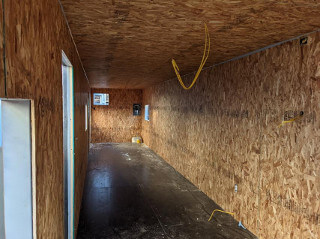
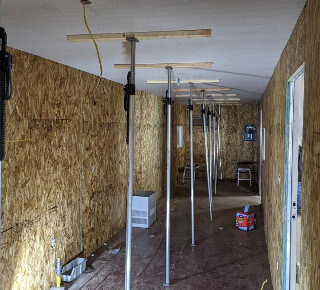
Now it's time to cover the inside with OSB boards "Oriented Strand Board" starting with the ceiling again then the side.
All the two by four framing studs are spaced 48 inches center to center so we have to make only one cut for the OSB board to fit in place except for the cutouts around the doors, windows and electrical outlets.
The OSB get secured to the two by four framing studs using 1-1/2 inch sheetrock screws. Then we seal all the gaps with industrial grade silicone.
There is really nothing special about the windows or installing them. they came as a Weld-n-Go kit. The window already inside the steel frame.
So all what need to be done is sliding the vinyl window in the frame and secure it with two self tapping screws inside the right vertical track and two screws on the left track.
Then run a bed of caulking on the outside of the window to seal it up. We had to do this five time as this shipping container office have 5 windows.
The only windows lift is the ones that go on the doors. These glass windows get installed with a screw on metal frame. The glass get sandwiched inside the frame.
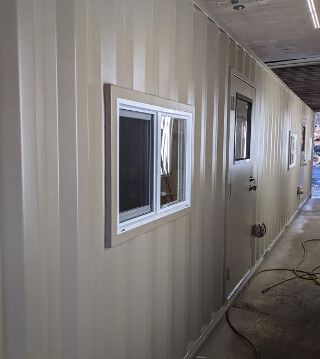
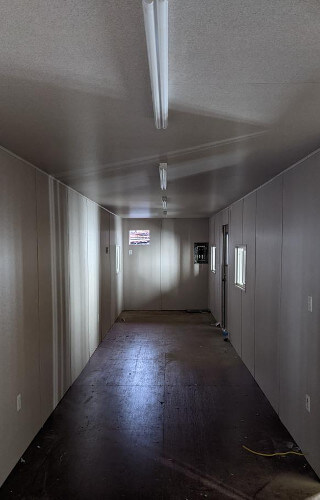
We used a light gray paper textured facing plywood to cover the inside of our shipping container office and that by itself brought day light to the inside of the office.
The sheets were cut to fit starting with the ceiling again and got fastened with liquid nails and some brad nails around the perimeter.
Scraped two by four chunks were used with load locks to keep the ceiling textured facing plywood in place while the liquid nails dry.
The same thing goes for the sides too without the need of load locks. The liquid nails and brad nails were enough to keep the sheets in place.
You will end up with some small gaps here and there which is not a big of a deal and they well get covered when we start trimming the facing.
The one stressful part of this shipping container conversion to an office space was the inside facing. The reason was that the supplier send us exactly the right amount of material to cover the 40 foot container and there was no room for errors in any cut.
At the same time we were on a timely schedule for the delivery of the offices to the customers. And the facing supplier is in another state, So every cut had to be perfect or there well be a delay in delivering.
All whats lift is trimming the inside walls, windows and doors. Then install the ceiling LED lights and outlets and slide the air conditioners in their openings.
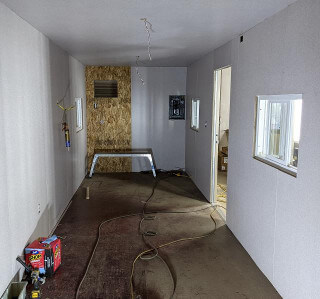
Almost forgot about the flooring of this container office.
Only two days before the deadline of delivering these container offices to the customer location we realize that there is no way for us complete them on time and we needed some extra hands.
Luckily we found a local flooring contractor that was welling to work with us over the weekend to finish the laminate floor. By Monday morning the container offices were ready and on their way to the customers location.
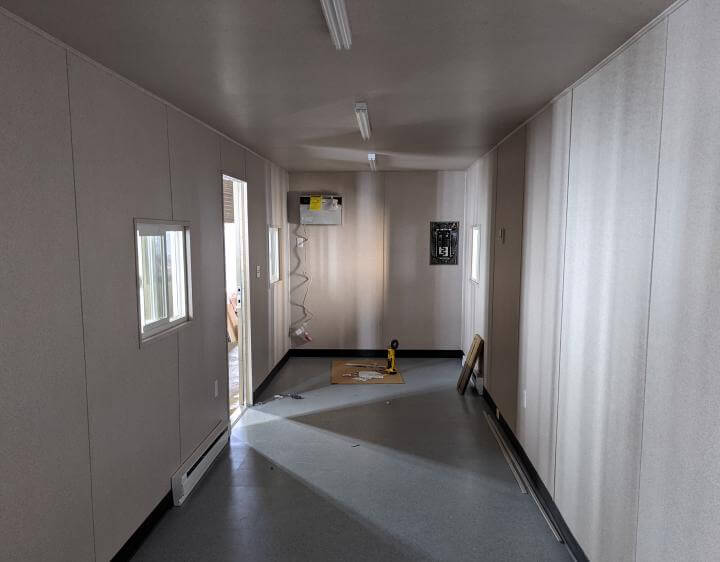
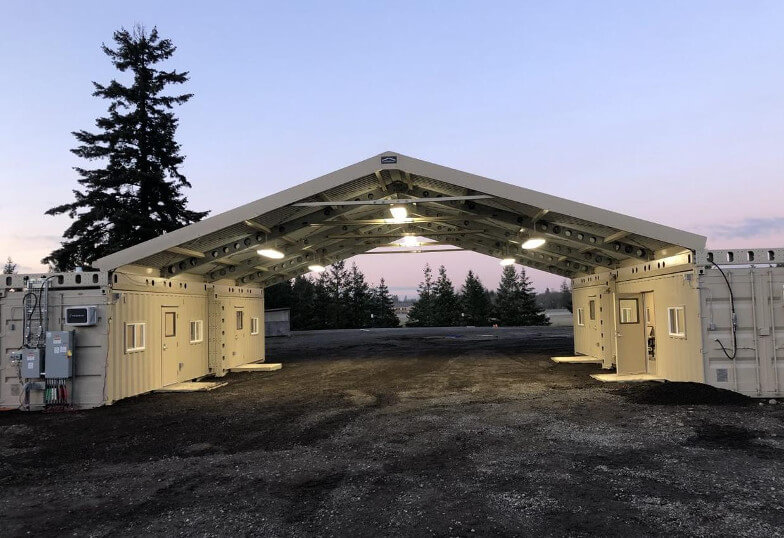
40ft Shipping container offices at location
