8ft wide shipping container Roll up doors
8ft Wide shipping container roll up doors are, in our experience, the most common roll up door size to be installed on a shipping or storage container.
These 8ft wide doors can be installed on either side of any shipping container. Multiple doors can be installed on the same side while there is room for them and some support for the roof.
Roll-up doors are an excellent option for storage containers, as they give much more room to access the inside of the container without worrying about the heavy, limited function of the cargo doors.
Installing the roll up door on a shipping container is a simple and fast process. Preparing the steel container to take the roll up door is the time-consuming part.
If you are shopping for a shipping container with an 8ft wide roll up door. Please contact us and one of our sales team will get back to you as soon as they can.
-
✓
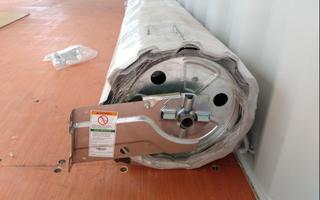
Corrugated metal door coil.
-
✓
Vertical tracks.
-
✓
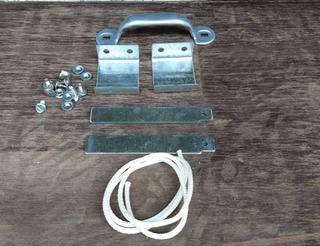
Hardware kit.
-
✓
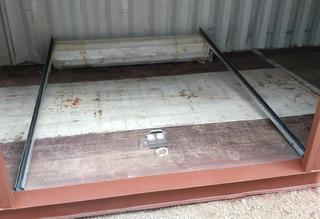
Steel threshold.
Installing the roll up door on a shipping container.
Unlike the shipping container man door and the container windows, the roll-up door has nothing to trace on the container wall.
We need to mark the area for the door cut out using the corner posts and the bottom rail as reference points for our measurements.
The width of the door is 8 feet so the opening needs to be 8ft wide and 82 inches tall.
We are going to build the door frame using 2 x 3 inch rectangular steel tubing. So the opening cut-out width needs to be 102 inches.
If we are going to install more than one 8ft roll up door on the same wall, we need to take into consideration the roof support.
If you take a close look at the first image on this page where we install three 8ft roll up doors on the same side, you will notice that the vertical steel tubes of the door frames go all the way from the bottom rail flange to the top rail of the container.
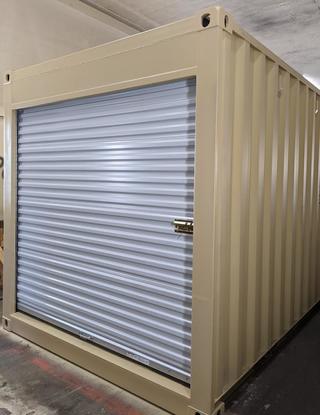
The roll up door frame opening can be cut out with a cutting wheel on a grinder or a plasma cutter.
Personally, If it's a new container that I am installing the roll up door on I will go with the cutting wheel o the grinder. And if it's an old rusty storage container I will go with the plasma cutter.
At the same time if we get in a crunch, and we are getting close to delivery time. The plasma with a straight edge is the way to go. It's much faster than cutting wheels. Especially when it's time to clean the bottom rail flange.
Cleaning the bottom rail flange on an 8ft roll up door might not be that big of a deal right. Try cleaning that flange on two sixteen-foot wide roll up doors on the same side and you will know what I am talking about.
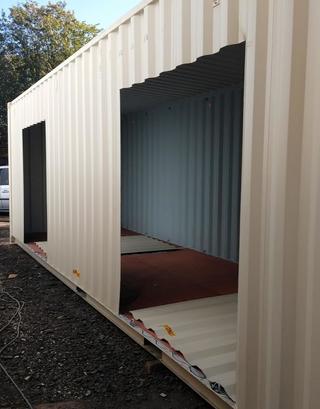
On this job we went with 2 x 2 inch rectangular steel tubing to build the roll-up door frame.
We used to install the door threshold first, then build the frame on top of it. And there is really nothing wrong with that. We did it this way for years.
The only problem with installing the threshold first is that the bottom of the vertical steel tubes needs to be cut at an angle to match the angle of the threshold.
So, for a change and to test new ways, the last few orders of roll up doors we got, I left the threshold as the last part to be installed instead of being the first.
Two small notches on the threshold to make it fit and the results were really good. The frame looked really cool and it did come together a little faster too.
If you elect not to purchase the door threshold with the kit. You can make one from one inch flat bar and a 6 inch flat bar welded together at a 45 degrees.
Usually the top header is the first part to be tack welded to the door opening. Then the two verticals.
When all three parts are in place and lined up with the container wall. We can start welding all around alternating the weld beads to prevent the steel from warping.
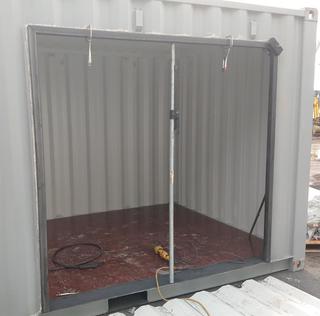
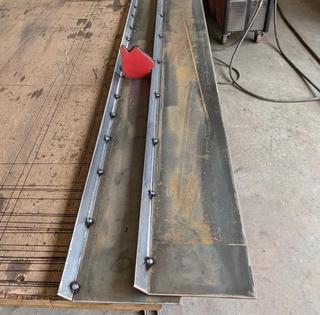
We clean the inside and outside with a wire wheel on a grinder. It's a really good idea to wear a face shield and a dust mask for the cleaning.
Wire wheels on a hand-held grinder are a lot more dangerous than grinding wheels or even cutting wheels. Because they don't look that dangerous until you start finding small wires sticking in your clothes.
If you are going to do this kind of work, please keep your face shield on at all times while using the grinder.
To finish the door frame we need to seal the inside welded areas with caulking, Spray paint primer the steel door frame.
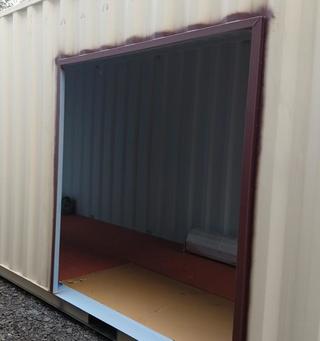
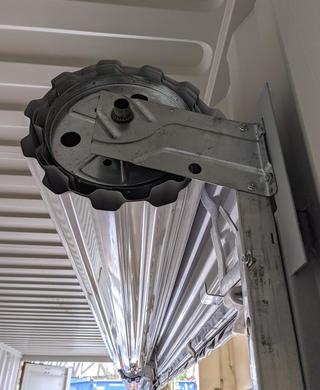
Start by positioning the roll up door coil inside the container against the wall away from the door frame. The tension adjustment bracket should be to your right while the door coil is in front of you.
Using the included hardware kit attach the two vertical tracks to the roll up door coil brackets.
Get a second pair of hands to help you stand the roll up door assembly against the steel door frame.
You can use an adjustable bar clamp to hold the door tracks in place for better alignment and drilling holes for the self-tapping bolts that will fasten the tracks to the steel frame.
The vertical tracks need to be fastened with three bolts each. We start by fastening the middle bolt, adjust the track as needed then fasten the other two bolts.
Time to remove the wrapping of the door coil and drop it in the tracks. A second pair of hands will help a lot here to make sure that the door coil will unwind inside the track.
The door stoppers can now be installed. One U-shaped bracket on each side of the door from inside. And one sliding plate that has a slot in the track towards the top to take the U-shaped bracket when the door is up.
Now we can put some tension on the roll up door coil spring to help with the weight of the door when opening and closing. The tension bracket works as a ratchet so we keep adding tension clicks until the door becomes easy to open.
The last thing to do is install the door handle and the pull-down rope. Then operate the door several times to make sure everything works correctly.