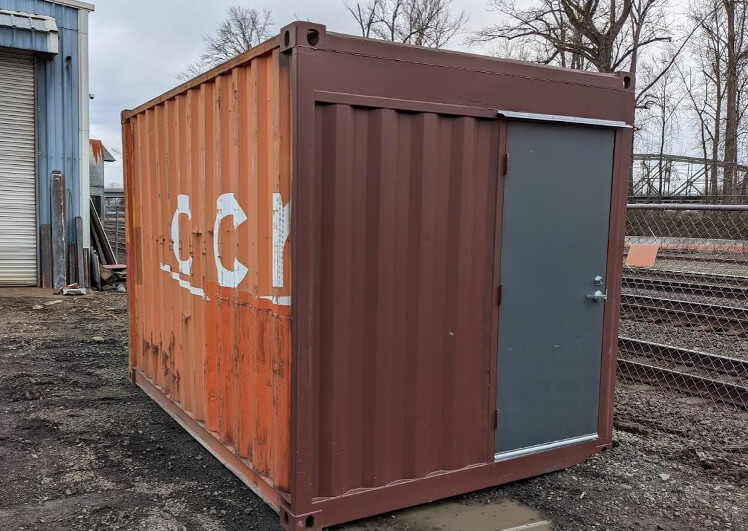
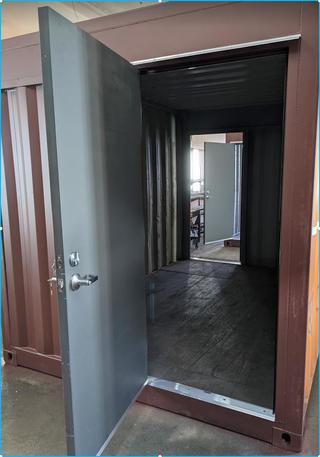
Shipping container with Man door
Shipping container with personnel doors for sale. That's what we are offering here. If you are looking for a shipping container with a man door or doors ? feel free to contact us.
We can install any man door you like on any side of any shipping or storage container.
Why would you want to install a personnel door on a steel shipping container.
There are a lot of reasons to install a man door on a shipping container. The simplest reason would be to have an easy and quick access to what inside the container.
Another quick and short answer. Check out this shipping container office that we built a few weeks ago.
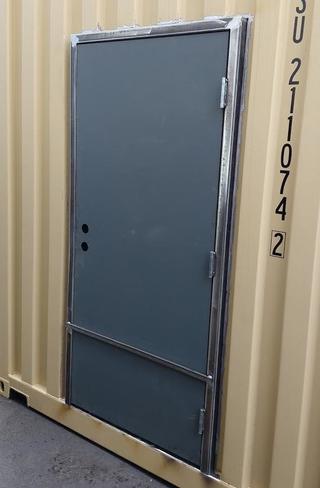
The most common shipping container personnel door is the weld-n-Go man door. Simply because as the name implies. it's the easiest to install. We will show you how in a minute.
Besides a few wood doors that we installed for some customers this is the type of door that we have been installing throughout the past 25 years of modifying shipping containers.
-
✓
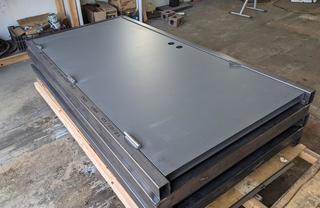
Prehung door in steel frame.
-
✓
Door knobs.
-
✓
Seal kit.
-
✓
Aluminum threshold and sweep
-
✓
Aluminum rain drip cap.
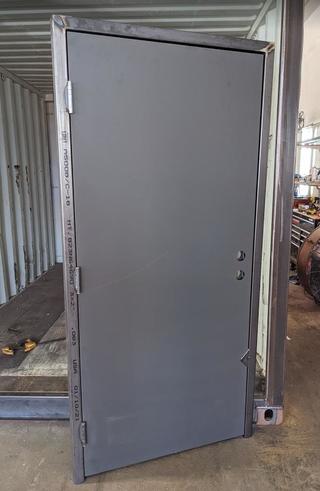
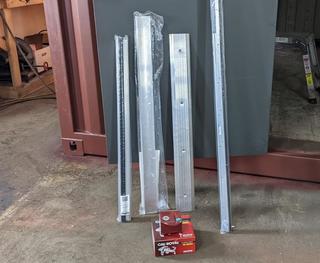
Installing a man door on a shipping container.
Installing the per-hung Weld-n-Go man door kit on the shipping container is an easy process. It does not take that much time to do.
If you decided to build the door frame yourself to save some money. You need to invest in 2X3 inches rectangular steel tubing.
And make sure to cut the top corners on the frame at 45 degrees. Otherwise you will have to cap the steel tubing ends which will not look good and might case water leaking when winter time comes.
Start by positioning the man door assembly against the wall inside the shipping container where you want it to be installed.
The shipping container floor is almost always not level so don't count on that to align the door. Instead use the top rail as a referance point of measurement.
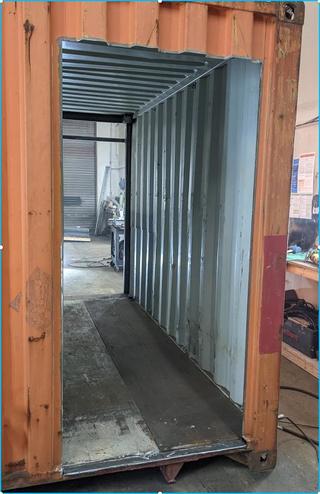
While the door assembly still against the shipping container wall. Use a sharp soap stone flat surface to trace the door frame on the wall.
Now move the door assembly completely out of your way as we are going to do some cutting, Grinding and cleaning.
You can use a plasma cutter to do the cut. But we found out it's actually cleaner to do the cut with a grinder and some cutting wheels.
After the cut is done it will be time to clean the steel and getting it ready for welding.
At this point you can try the door in the cut out to see if it fit without forcing it. If the opening is a little tight. Use a grinder to shave the edges till the door fit the opening freely.
Don't get temped to force the door frame in the opening. The door will bite on you after you get done welding.
Another thing to pay attention to is the door stopper. Which is a small piece of steel welded to the frame to keep the door from opening before installation.
If for any reason that door stopper broke off and the door swung open. Stop what you are doing and re-weld the stopper back in place.
Don't weld the door frame while the door is open. It will not close after welding the frame.
The heat from welding will expand the steel and cause a lot of problems. Take the time to make sure the door still have the proper cap all around the frame before welding.
Take the time to make sure the door still have the proper gap all around the frame before welding.
By now the door frame opening is the right size, cleaned and the door frame is ready to be welded.
One last thing we need to check before start welding. Make sure to line up the door frame with the top and bottom rails of the storage container. So the door will be flush with the container walls.
Now we can tack weld the frame in several point to hold it in place and at the same time prevent the frame from expanding to much while welding.
I usually start the welding at the bottom. Securing both sides of the door frame. So the will not move on me later if one of the weld tack broke off.
The i move to the top of the door frame and weld around both corners for the same reason. Just to be safe.
The rest of the weld beads will be alternated between the left side, the right side and the top header of the door frame.
It's a good idea to wait till the weld cool down before removing the door stopper.
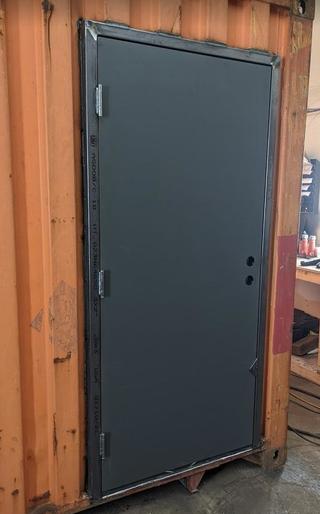
After the weld cools down and the door stopper removed we can start wire wheeling the welds inside and outside.
It's a good idea to ware a clear face shield and a dust mask before start wire wheeling. Some steel wires will fly out of the wheel at the grinder speed and can be dangerous.
While you are welding the door frame from the outside some of the paint on the inside of the wall will burn. Keep your dust mask on so the burnt particles don't end up in your lungs while you are wire wheeling.
All what's left to do is running a bead of caulking around the door frame from inside to seal it and spray some primer.
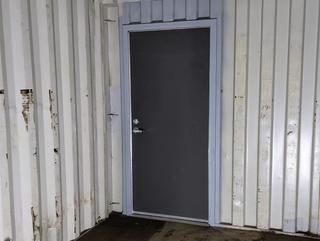
The man door at this point is installed and it's time to install the door hardware.
I usually start by installing the door knobs. To make sure the door is operating as it should.
Then we move down to install the man door aluminum threshold. Five screws will hold it in place. Usually the threshold need to be cut to the width of the door.
Next is the man door aluminum sweep. The door sweep need to be trimmed too before installation. Again five self drill screws will do the job.
Finally it's time to install the aluminum rain drip cap. Which sets at the top header of the man door. This can be fasten with some self drilling screws too.
A fine bead of caulking at the edge of this rain cap to make sure there will be no water seeping behind the cap and inside the man door.
Customer who order shipping containers with personnel doors also asked for shipping container windows to be installed too.
